Prevents webbing in the plastic sheets, parts or moulds during vacuumforming
Webbing usually occur in vacuum forming when the vacuum airflow is not sufficiently controlled during the process of drawing the tabletop model into the thermoplastic sheet regardless of the design or vacuum forming tool. In this post we give a short and concise overview to prevent or reduce the occurrence of these folds.
It is important to understand that when the vacuum is applied, the part of the (soft / molten) plate will always suck down first on the part that has the least resistance. You would imagine that if you drape a cloth over the tool instead of a plastic sheet, the resulting folds and creases would identify the potential problem areas you will encounter in your plastic sheet during the vacuum forming process.
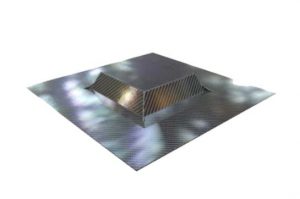
Typical “webbing” problems with vacuum forming
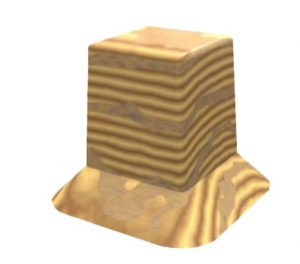
 The vacuumform tool / model is is too high in relation to the base surface.
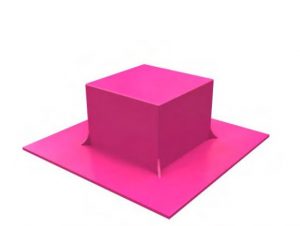
Vertical angles that are too sharp with minimal draft angles.

Deep male molds that are too close together.
Too much material for this trek. Often this comes from too thick a plate.
Solution:
There are several possible solutions to this webbing problem. By looking at and testing the following possibilities, drawing pleats during the vacuum forming process will have a much smaller chance.
Smaller panel size

Use a smaller plastic sheet size that the mold or tool provides as greater stretch of the plastic panel material.
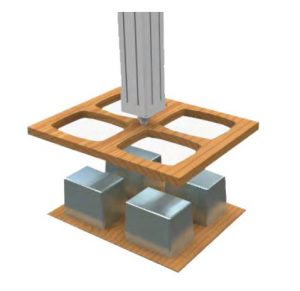
Place small cubes next to the mold
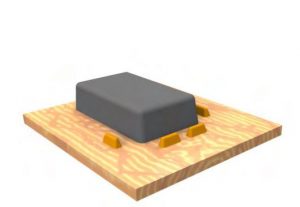
Place angled blocks on the corners of the mold to pull the excess plastic material away from the corners. The excess plastic material then falls neatly over the blocks, resulting in less material accumulation on the corners of the mold. Placing a ring around the entire mold can also be an easier solution. what is important is the height of the ring, which often has about 25 – 35% height compared to the height of the mold.
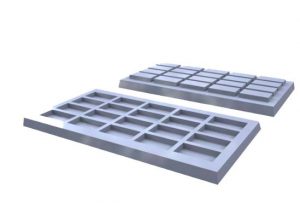
Extra frames in clamping fram
Attach wires or steel blades to the clamping frame. This prevents/limits the movement of the plastic while pulling up the mold. As a result, the sheet of plastic often stays in the right place without deformation.
Add a radius to the mold:
Add pull angle/radius angles to the jig to allow the material to flow over the tool, jig, or pattern.
Work with an extra frame
A frame attached to the plug-assist that comes down when the table with the jig is raised. This helps to push the material down between the molds and reduce webbing. with the smaller vacuum forming machines that do not have a plug-assist, it can work to clamp such a frame in the clamping frame with the plastic plate.
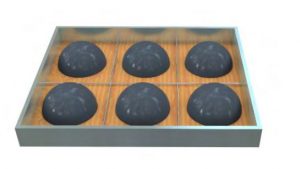
Negative or positive mal
Try using a female (negative) mold instead of a male (positive) mold if there are a lot of creases between the molds.
Reduce vacuum force
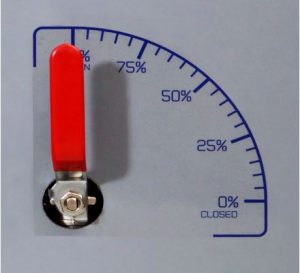
Reduce the vacuum force or reduce the vacuum speed when vacuuming the plastic in/around the mold to reduce the chance of wrinkles.
Increase the mold height
By raising the mold and attaching a 45-degree apron to the bottom of the mold, you get rid of excess material. This is pulled away from the mold over a large area.
